Em here, so I posted ombre` walls earlier this week, and so of course after having done ombre` hair for many a friend (sorry I don't have pictures on hand, maybe I can track some down...get back to you on that one), I decided I needed to try out the ombre' nails we see ALL over Pinterest lately, so this one isn't so much of a Pinstrosity as it is a "Here's what we did, and here is what worked and what didn't" post, A.K.A. Pin-Win!!!!
The Original
The directions say to pick a base color, paint all the nails that color, and then using a makeup wedge put your darker color on, and the base color right next to it, and swipe it on. The more you swipe the more it turns to a gradient. Here is our version:
The Pin-Win
(A shout out to my toe model, Sweet Camille!!)
I think they turned out awesome! Here's what we did:
1. Prep all toes by putting Vaseline surrounding the nail.
2.Pick colors, she picked teal and grey (love!).
3. Paint toes base color, she picked grey.
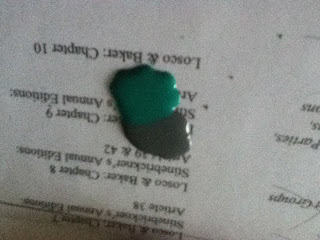
4. Put a few drops of each color on a surface to sponge off of, like so:
5. Take your sponge makeup wedge, and dab one side with your base, grey,, and the other side with your color choice B, teal in this case.
**We first tried doing the whole smearing thing that I have seen other places but it just looked smudged and ugly. That version requires your colors to touch before you put them on the sponge, for the way we did them you don't need to do that. Maybe I should write a Pinstrosity about the first attempt, hmmm...**
6. After your base is dried you can start dabbing with your sponge, you dab the teal on the free edge of the nail, and then flip the sponge and dab the grey where the base coat grey and the fresh wet teal meet. This will blend your colors beautifully! Also I would suggest dabbing gently and in tiny little sections, pressing too hard creates a sponge mark in the base coat, no bueno.
**Note: Not all colors will create the awesome beautiful ombre` affect, some colors just clash, so if yours turns out horrific, it might just be your color combo**
7. It looks really textured and not finished until you add your top coat and then it all smooths out and looks awesome, and now your done!!
We had great success with this one, and I am going to do it on my own nails in the next day or two as well. Super easy and it was pretty fast, lots of options for color combos and fun to experiment with. Let us know how it goes for you guys! Have a great Friday everyone!!
-Emilee


This is how I learned to do mine. I'm now addicted and do this every time I re-do my nails. LOVE
ReplyDeletehttp://layniefingers.blogspot.com/2012/03/another-way-to-do-sponged-gradient.html
personally, i think its a lot easier to paint the stripes directly onto the makeup sponge and dab away at your nail under you have reached your desired effect!
ReplyDelete